
Dry Cutting Mastery: Pro Techniques Using Hairdressing Scissors
Dry cutting is no longer just a finishing technique—it’s a preferred method among professional hairstylists for precision, texture control, and personalized results. When done with the right skills and tools, dry haircuts offer unmatched clarity in shape and movement.
In this guide, we’ll walk you through the why, when, and how of performing a dry haircut using professional hairdressing scissors.
Why Choose a Dry Haircut?
Dry cutting allows stylists to:
-
See the natural fall and texture of the hair
-
Customize shape for the client’s real-world style
-
Reduce surprises—what you see is what you get
-
Work better with wavy or curly textures
-
Adjust volume and movement more accurately
Dry cutting is especially helpful for:
-
Clients who air-dry their hair
-
Finishing work on already styled cuts
-
Adjusting layers, weight lines, or fringe
When to Cut Hair Dry (and When Not To)
✅ Best for:
-
Wavy or curly hair
-
Texturizing layers
-
Precision face-framing or bang work
-
Thick, coarse hair requiring bulk removal
🚫 Avoid on:
-
Extremely damaged or split hair (can cause more fraying)
-
Clients requesting significant length removal (start wet, then refine dry)
-
Overly frizzy hair without proper prep
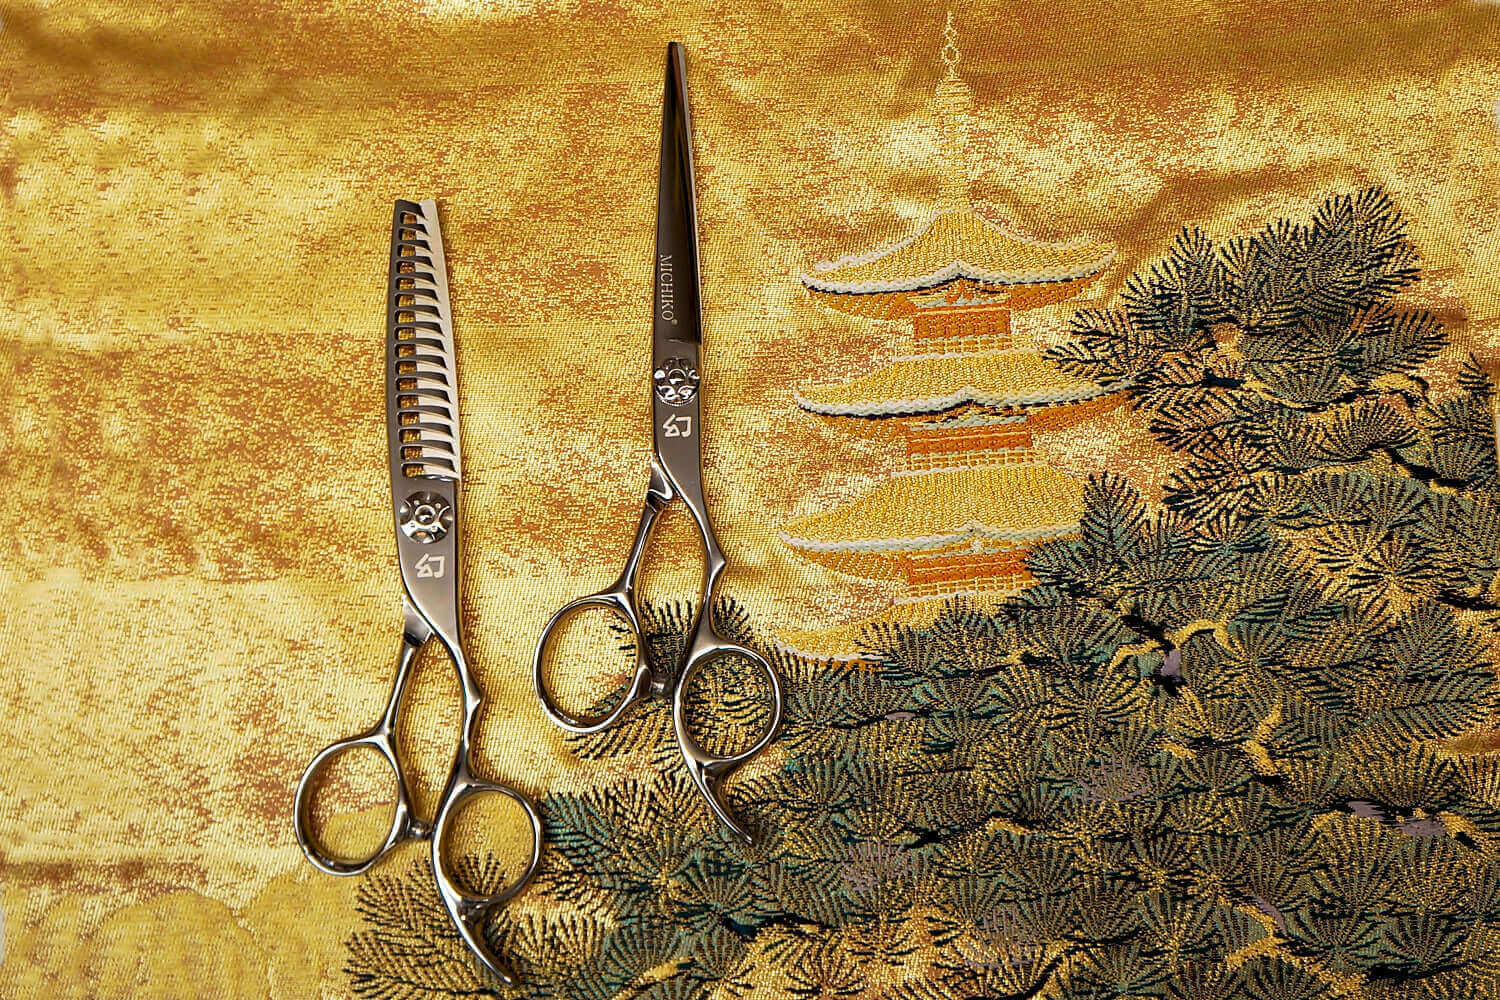
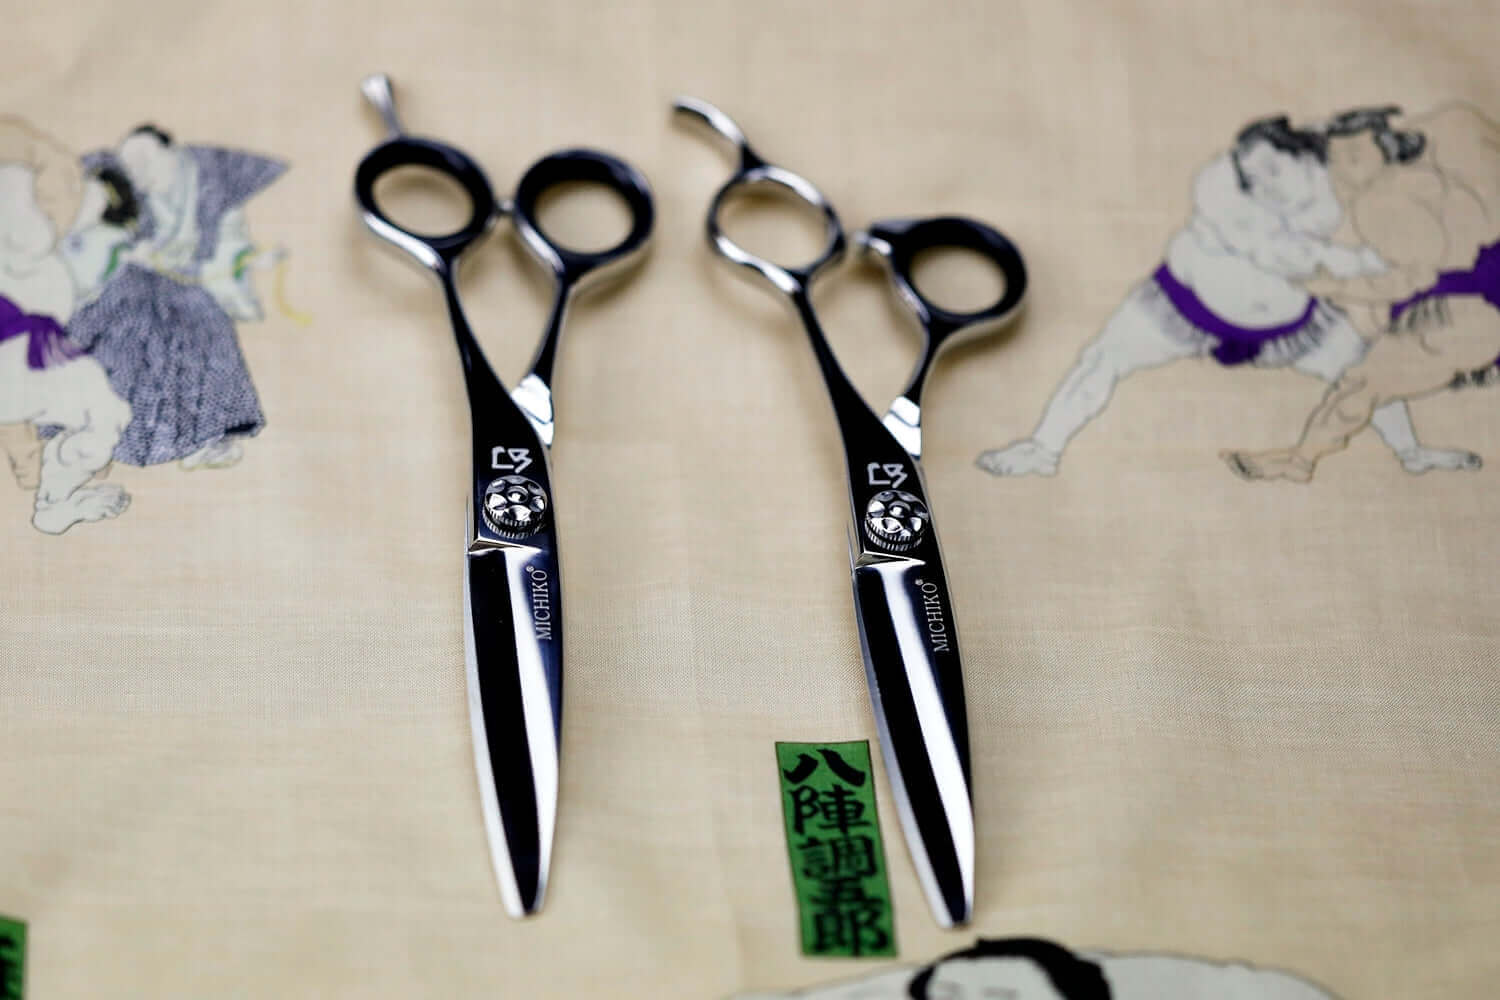
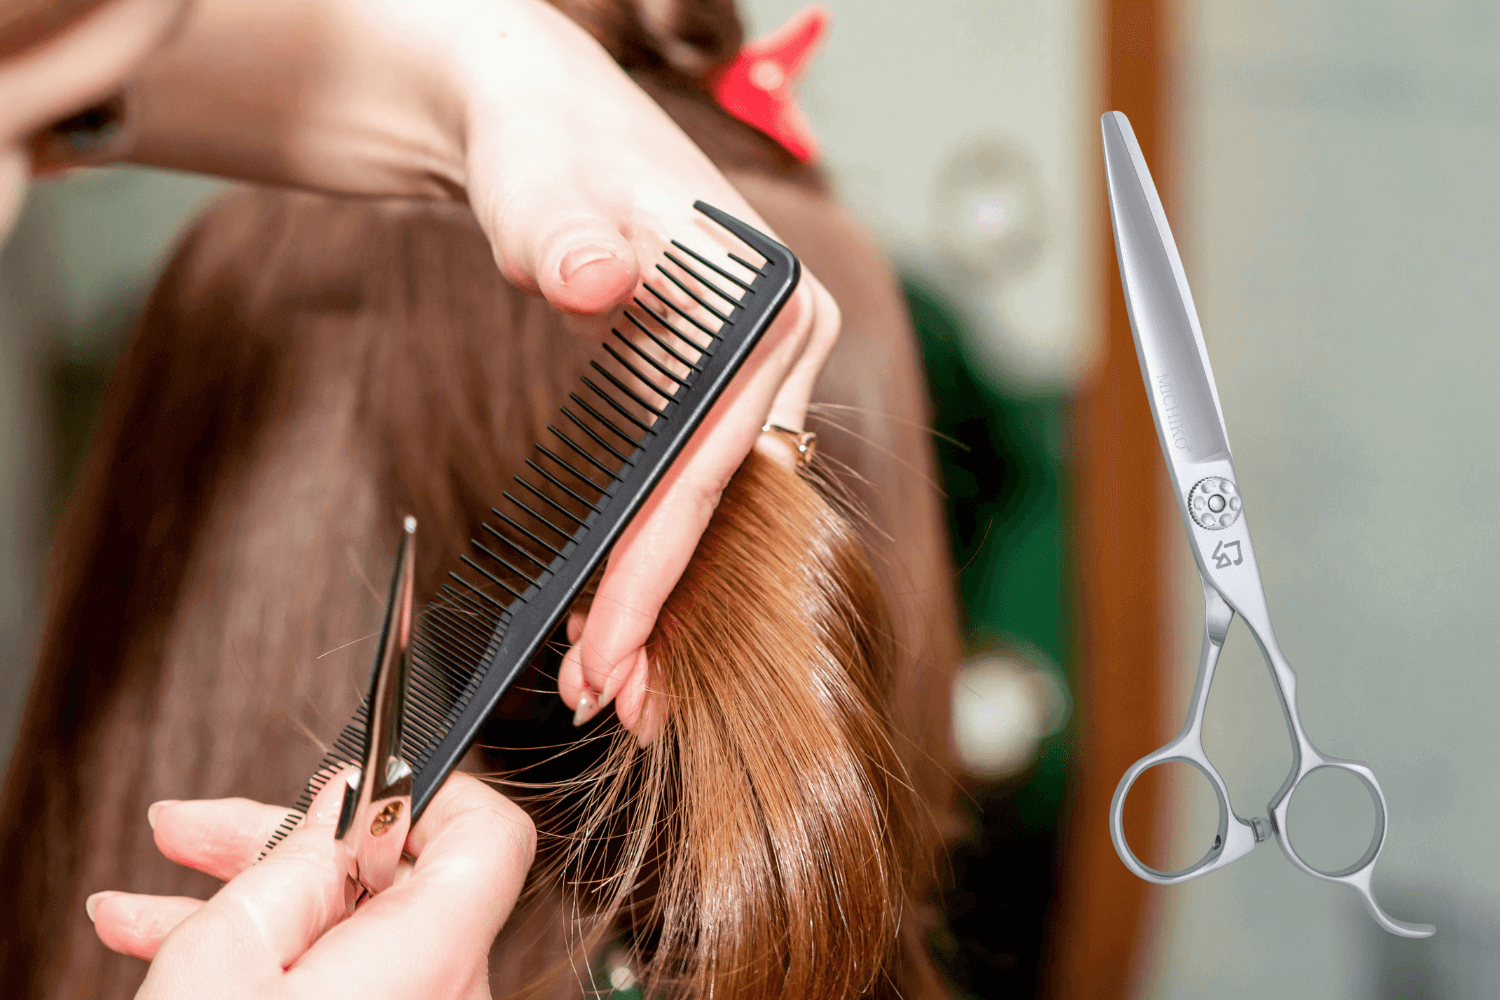
Tools You’ll Need
-
High-quality hairdressing scissors (sharp convex-edge preferred)
-
Sectioning clips
-
Fine-tooth comb
-
Mist spray bottle (optional for minor rehydration)
-
Lightweight styling product (optional)
💡 Important: Use only razor-sharp shears for dry cutting. Dull scissors can snag, split, or fray dry hair.
Step-by-Step: How to Perform a Dry Haircut
1. Prep the Hair
-
Start with clean, dry hair.
-
Style it as the client normally wears it—natural part, volume, etc.
-
Use a flat iron or diffuser if needed to prep the texture.
2. Section Strategically
-
Use smaller, controlled sections than you would in a wet cut.
-
Clip away areas you’re not working on.
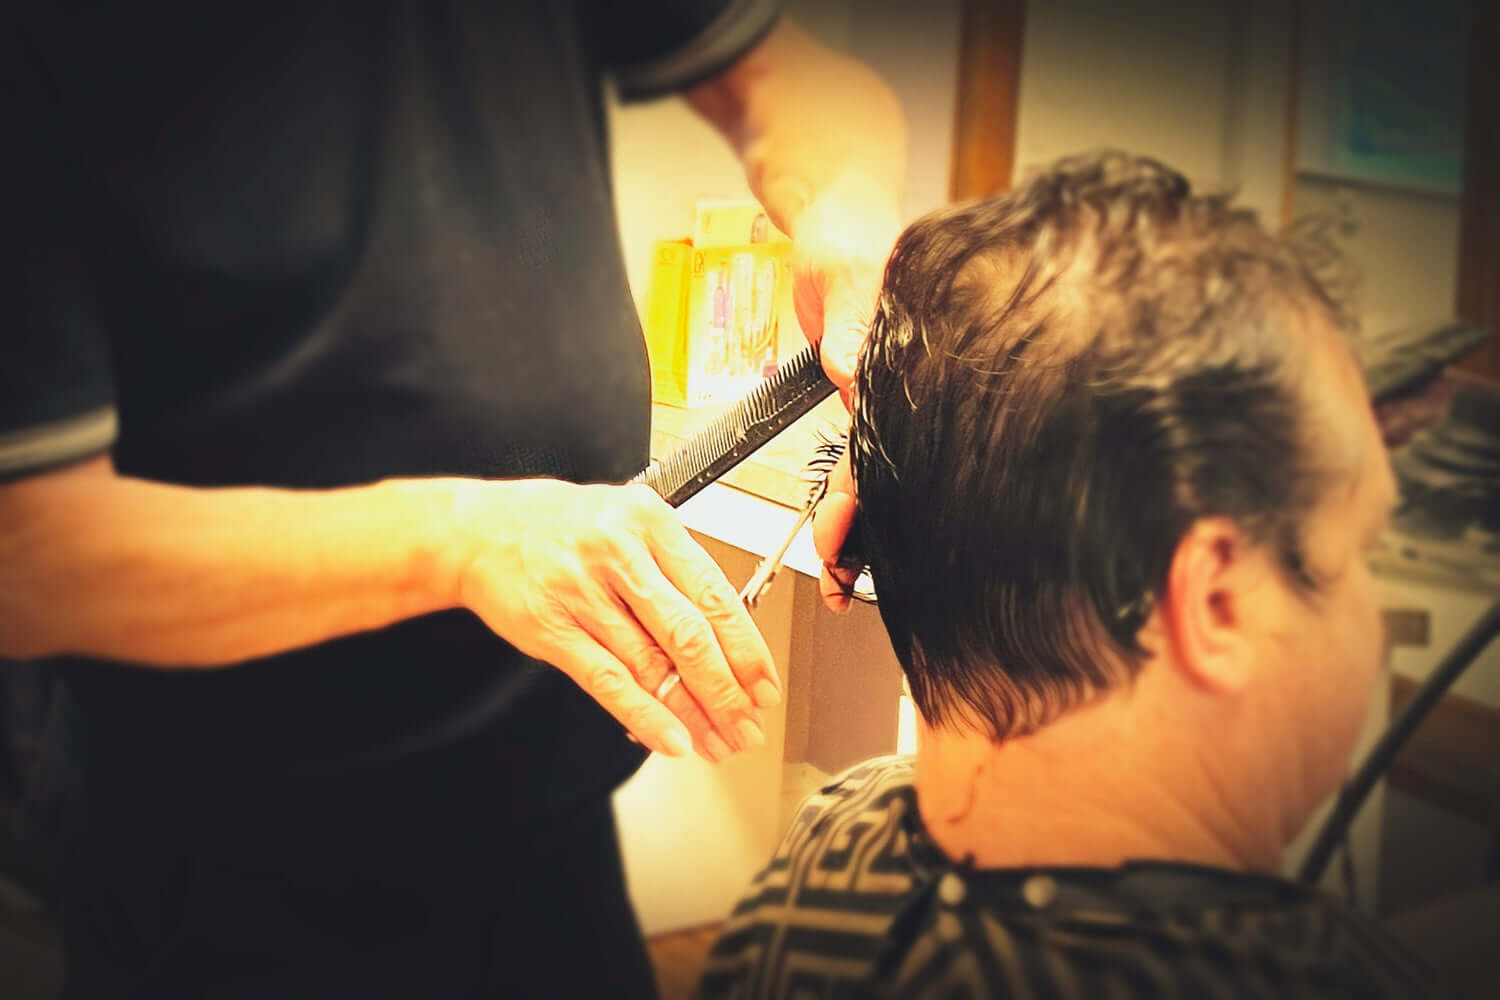
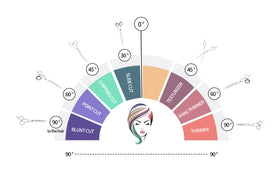
3. Use the Right Cutting Techniques
-
Point cutting for soft texture
-
Slide cutting for movement
-
Blunt cutting for strong lines in bob shapes or fringe
-
Avoid harsh slicing or notching if hair is dry and brittle
4. Check Movement Frequently
Let the hair fall naturally and check how layers move as you cut. This is one of the biggest advantages of dry cutting—what you see is what you get.
5. Refine the Shape
-
Step back often. Check balance and weight distribution.
-
Adjust any heavy or uneven areas—especially around the crown, fringe, and neckline.
Finishing the Dry Cut
-
Use thinning or blending shears to refine thick spots or soften lines.
-
Lightly mist any frizzy sections if needed for final touches.
-
Add a texture spray or light serum to reveal the full shape and movement.
Pro Tips for Dry Cutting Success
-
Sharp shears are non-negotiable. Invest in a good pair of dry-cutting scissors.
-
Dry hair shows every mistake—cut slowly and deliberately.
-
Always consult with your client beforehand, especially if they’re used to wet cuts.
-
Keep a clean, well-lit workstation to spot balance and weight issues easily.